As an aside, I just want to say out loud or at least on the blog that I am so grateful that this fall has been a real fall. We dodged the weekend snow. But in general the temperatures have been cool but not frigid and the trees on the leaves have been putting on a show! Last weekend we went on a last-good-weekend hike. We are so lucky to live here. Here are some photos I snapped.


These photos may help me through the long winter.
Alright, on to the recipe.
Step one:

The main players.
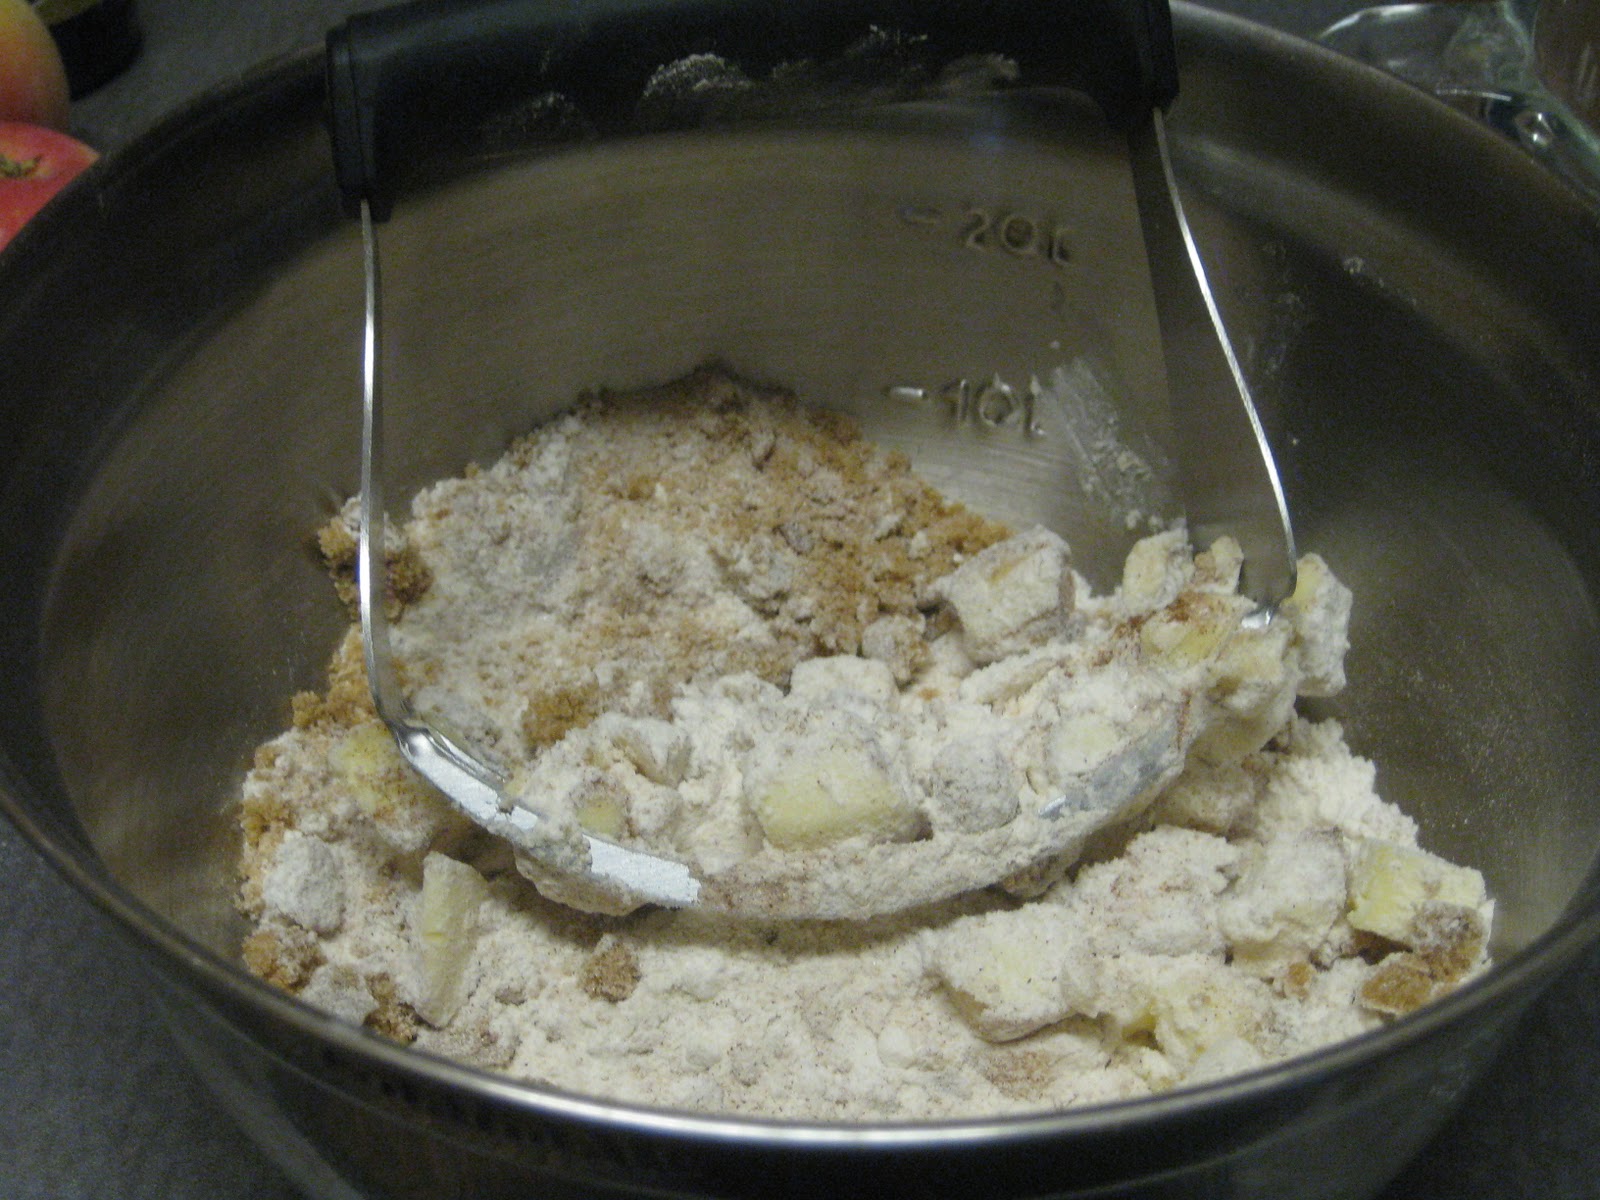
Step two:

Measure and combine the dry ingredients. This happens to be one of those recipes when I do adhere to the two-bowl preparation rule here. As it turns out, it's completely worth the extra dirty dishes.
Step three:


Mix the wet ingredients until combined.
Step four:


Pour the wet ingredients into the dry. This is the way to go for a few reasons the main being that if you poured the dry into the wet you would have a big fat mess on your hands when you mixed together. You may also notice this is quite a lot of batter well this recipes makes two loafs. Bonus!
Step five:


Pecans! How much do I love thee? Also, for added difficulty I have both a glass and metal loaf pans. I say added difficulty because they are slightly different sizes and the glass and metal hold and conduct heat differently making the baking time different.
Pop these into the oven until a toothpick comes out clean. Allow them to cool a bit and then devour immediately. I took one to a party and the other I hid from Joel so that he didn't eat the whole thing within an hour. That man seriously loves quick breads.
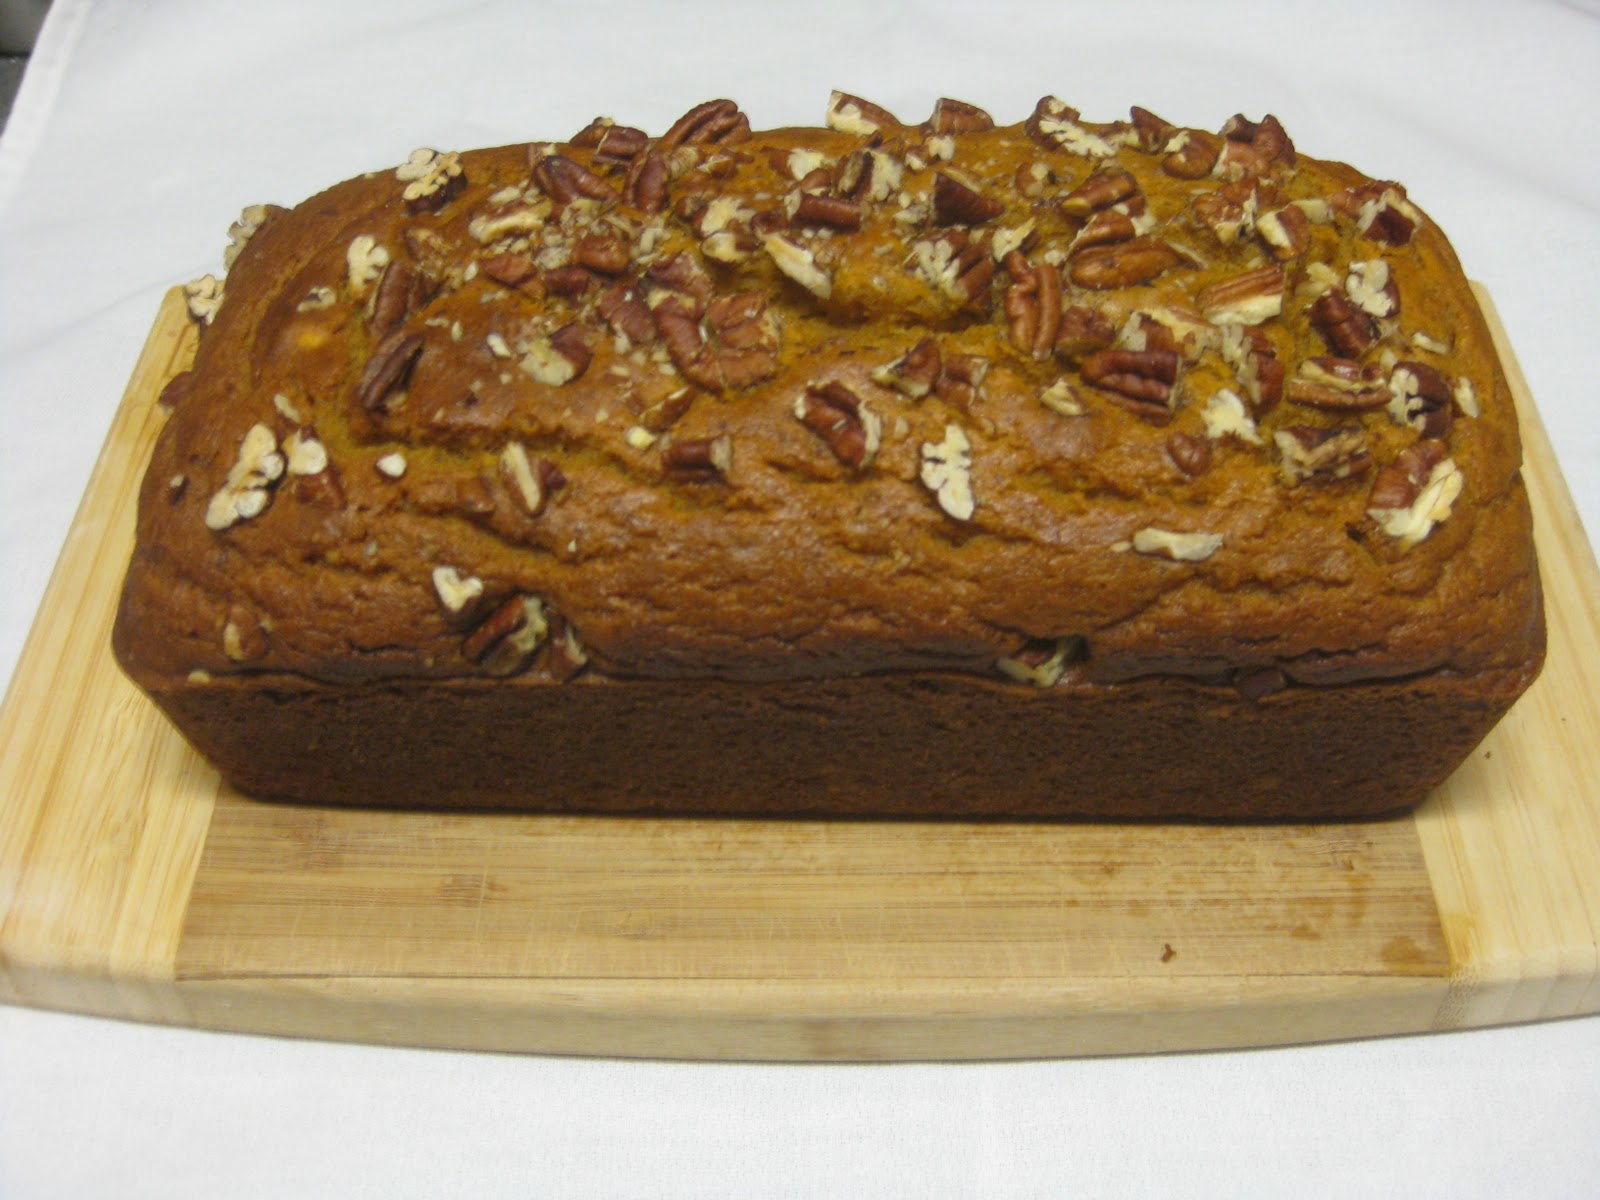
Pumpkin Pecan Bread
Adapted from Cooking Light
Ingredients:
- 3 1/3 cups all-purpose flour (about 15 ounces)
- 1 tablespoon baking powder
- 2 teaspoons baking soda
- 1 teaspoon salt
- 1 teaspoon ground cinnamon
- 1 teaspoon ground nutmeg
- 1/2 teaspoon ground allspice
- 2 cups granulated sugar
- 1/2 cup egg substitute
- 1/2 cup canola oil
- 1/2 cup low-fat buttermilk
- 2 large eggs
- 2/3 cup water
- 1 (15-ounce) can pumpkin
- Cooking spray
- 1/3 cup chopped pecans
Preparation:
Preheat oven to 350 degrees. Spray nonstick cooking spray into loaf pans.
Measure and combine flour, baking powder, baking soda, salt, cinnamon, nutmeg, and allspice (which I did not have on hand but it still was delicious). Stir to combine and set aside.
In a medium bowl measure sugar, egg substitute, oil, buttermilk, and eggs. Beat with whisk or hand mixer. Add pumpkin and water and beat together.
Pour wet ingredients into dry and mix until combined.
Divide batter between two pans. Top with pecans. Bake for an hour. When a toothpick comes out clean they are done. Let cool for 20 minutes before you enjoy.